
Minimum resolution
Vector 0.125″ spacingClosed vector die-lines, optical margins auto-checked on upload
HomeFile guidePreflight & prepress manual
Vector die-lines · optical bleed audited
Pre-flight & prepress lab manual

Minimum resolution
Vector 0.125″ spacingClosed vector die-lines, optical margins auto-checked on upload
Vector precision
Spot layer CutContour100% Spot Magenta layer traced at optical bleed tolerance
Safety margin geometry
Optical ±3.0 DPIRegistration read against the outer bleed on every sheet
Press readiness
Color science CMYK Fogra39RIP calibrated ICC profile, industrial UV gel proofed

// typical resubmission drivers — 12 month press audit
A quarter of first uploads need a fix before they can be placed on a sheet.
Artwork ending flush at the cutline, so a 0.3mm wobble shows white edge.
Screen colour converted at the RIP shifts far past our Delta-E 2.0 window.
Pass preflight and your job joins the next gang-run sheet the same shift.
// 01 — pre-send audit · six checks, sixty seconds
Send AI, PDF/X-4, SVG or EPS. Vector scales from a 25mm logo sticker to a 2m floor decal with no rebuild and no softness at the edge.
If the art has to stay raster, build it at final print size at 300 DPI. Upscaling a 72 DPI web export never puts detail back — it only softens the edges.
Run the background 3mm past the cutline on every side. The blade tolerance is ±0.3mm, and bleed is what keeps that wobble from showing as a white sliver.
One closed path named CutContour, set as a 100% spot swatch with overprint fill on. No open paths, no stray anchors, no gradients on that layer.
Convert to CMYK Fogra39 before export and build rich black as C60 M40 Y40 K100. Flat K100 reads grey on vinyl once it is laid over a white underbase.
Convert every live text object to outlines and embed placed images. Missing fonts and linked art are the two fastest ways to stall a file in the RIP queue.
// 02 — prepress verdict · read side by side
Same artwork, two exports. One drops straight onto a sheet, the other comes back to your inbox with notes.
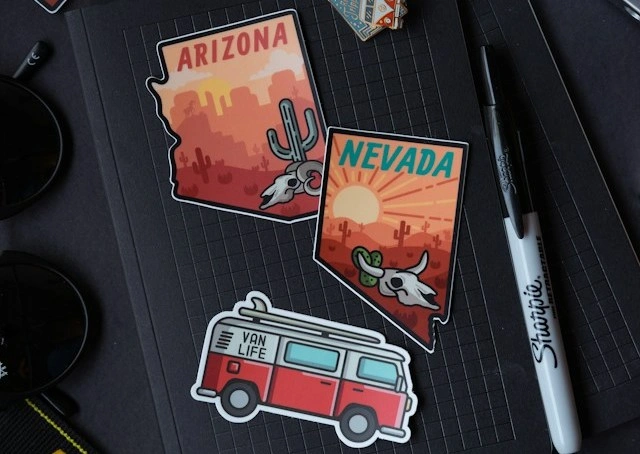
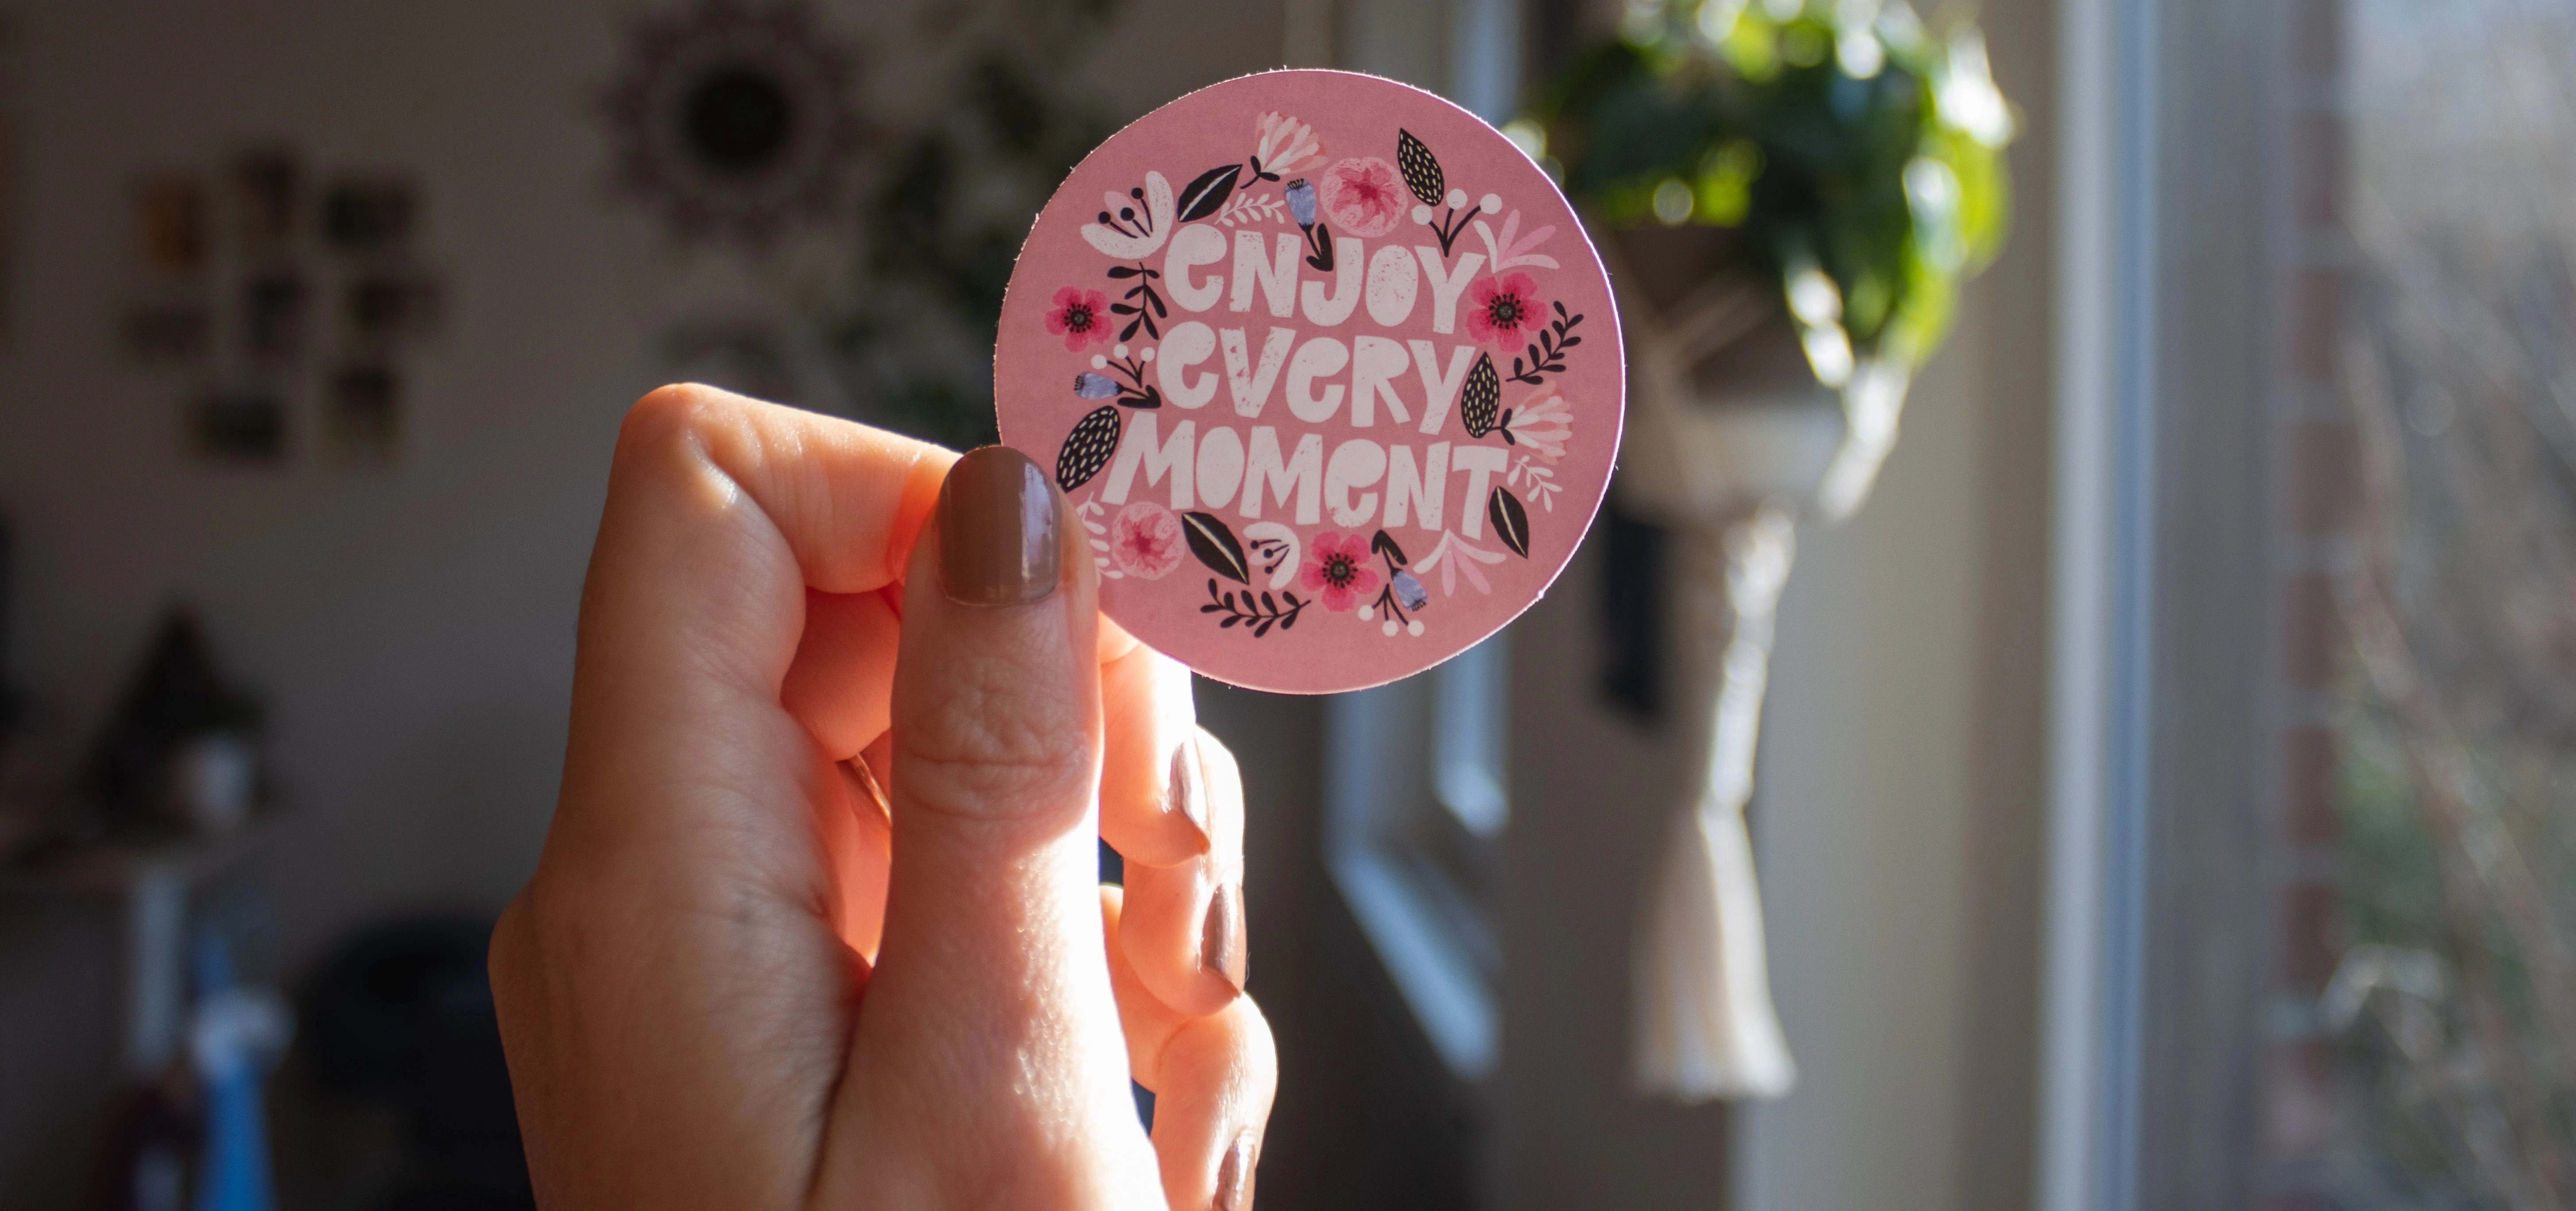 Low-res screenshot
// 03 — geometry · bleed, trim and safe margin
Three rings sit on every artboard. Hover a definition to light up the matching zone on the diagram.
The outer 3mm. Background colour and texture keep running here, then get trimmed away — it exists purely so the blade never finds bare white film.
Your finished sticker edge, drawn as one closed vector path. Cutter tolerance is ±0.3mm, which is exactly why the bleed ring sits outside it.
Keep type, logos, barcodes and QR codes at least 3mm inside the trim. Anything closer risks being clipped or sitting awkwardly on the curve.
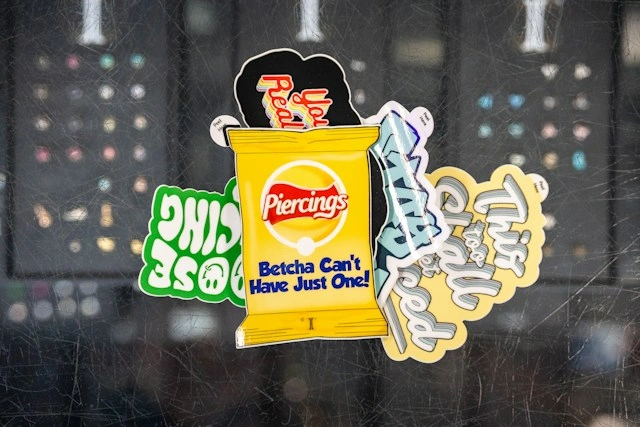 Trimmed & applied — bleed did its job
// 04 — cut process · pick one before you upload
The cut style changes how the file is built, so choose it up front. Tap an option to see what we need on your artboard.
Contour sheet: several shapes ganged on one artboard, each with its own closed path and 4mm gutter between them.Unsure? Send the art — we draw the path free.
// ready for press review
Upload it and a prepress operator checks bleed, cutline, colour mode and resolution by hand — then sends a proof back, usually inside the hour.
Free artwork check Proof in under 60 minutes No file? Grab a template
// made the file press-ready? good
Ready to print? Start a project and we will match the cutline, substrate and finish to the file you just built.